| 일 | 월 | 화 | 수 | 목 | 금 | 토 |
|---|---|---|---|---|---|---|
| 1 | 2 | 3 | ||||
| 4 | 5 | 6 | 7 | 8 | 9 | 10 |
| 11 | 12 | 13 | 14 | 15 | 16 | 17 |
| 18 | 19 | 20 | 21 | 22 | 23 | 24 |
| 25 | 26 | 27 | 28 | 29 | 30 | 31 |
- Bootstrap
- rownum
- SQL
- 모조칼럼
- jQuery
- oracle
- 과정평가형
- 성적프로그램
- 답변형 게시판
- alias
- group by
- 제약조건
- 이클립스
- sql developer
- Java
- Oracle DB
- HTML
- 한글 인코딩
- tomcat
- Oracle SQL
- git
- JavaScript
- ||
- HTTP Status 404
- 부트스트랩
- HTTP Status 500
- JSP
- github
- CRUD
- distinct
초급의 끄적거림
[Bootstrap] Bootstrap란 / container / container-fluid 본문
1. Bootstrap (프레임워크)
⊙ 가장 대표적인 반응형 페이지
⊙ 쉽고 빠른 프론트엔드 웹 개발을 위해 설계된 HTML, CSS, JS프레임워크.
⊙ 맞춤형 HTML, CSS 요소와 jQuery 플러그인을 제공하며 다양한 웹 브라우저 환경이나 스마트폰 (1단, 싱글페이지), 태블릿 (2단), 데스크탑 (3단)에도 대응하여 크로스 브라우징(Cross Browsing)을 도와준다. (반응형)
⊙ 트위터에서 오픈 소스로 공개되어 원래 있던 디자인을 그대로 사용하거나 누구나 마음대로 수정하여 자유롭게 배포하는 것도 가능
⊙ 현재 계속 버전이 업데이트되고 있으며 현재 v4.0까지 나옴
https://www.w3schools.com/bootstrap/default.asp
⊙ 사용 방법
1) Download Bootstrap from getbootstrap.com ( getbootstrap.com 에서 다운로드 받기)
2) include Bootstrap from a CDN (링크걸어서 사용하기)
⊙ 아래 container, container-fluid 는 w3school 에서 발췌
2. container (좌우 여백O)
<!DOCTYPE html>
<html lang="en">
<head>
  <title>01_bootstrap시작(container).html</title>
  <meta charset="utf-8">
  <meta name="viewport" content="width=device-width, initial-scale=1"> <!-- content에 부트스트랩을 쓰기 위한 명령어 -->
  <link rel="stylesheet" href="https://maxcdn.bootstrapcdn.com/bootstrap/3.4.0/css/bootstrap.min.css">
  <script src="https://ajax.googleapis.com/ajax/libs/jquery/3.4.1/jquery.min.js"></script> <!-- jquery와 bootstrap을 임포트해줌 -->
  <script src="https://maxcdn.bootstrapcdn.com/bootstrap/3.4.0/js/bootstrap.min.js"></script>
</head>
<body>

<div class="container"> <!-- 좌우 여백이 있는 container  -->
  <h1>My First Bootstrap Page</h1>
  <p>This part is inside a .container class.</p>
  <p>The .container class provides a responsive fixed width container.</p>
</div>

</body>
</html>

3. container-fluid (좌우 여백X)
<!DOCTYPE html>
<html lang="en">
<head>
  <title>02_bootstrap시작.html (container-fluid)</title>
  <meta charset="utf-8">
  <meta name="viewport" content="width=device-width, initial-scale=1">
  <link rel="stylesheet" href="https://maxcdn.bootstrapcdn.com/bootstrap/3.4.0/css/bootstrap.min.css">
  <script src="https://ajax.googleapis.com/ajax/libs/jquery/3.4.1/jquery.min.js"></script>
  <script src="https://maxcdn.bootstrapcdn.com/bootstrap/3.4.0/js/bootstrap.min.js"></script>
</head>
<body>

<div class="container-fluid"> <!-- 좌우 여백이 없는 container (꽉 참) -->
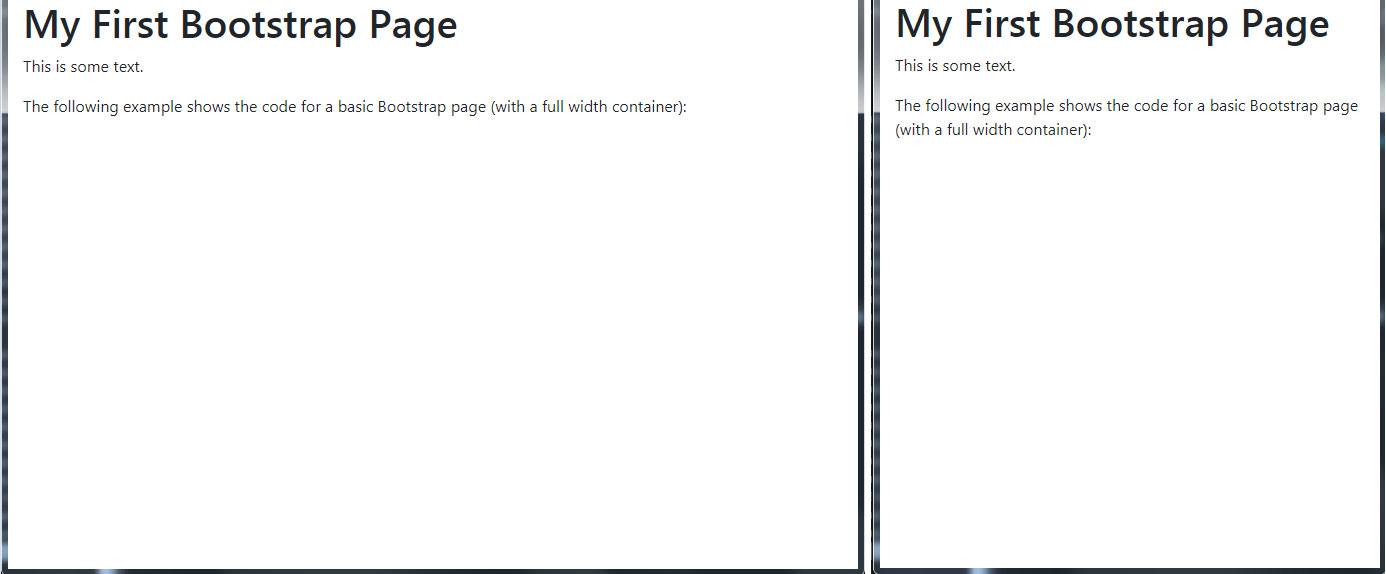
  <h1>My First Bootstrap Page</h1>
  <p>This is some text.</p>
</div>

</body>
</html>
4. Bootstrap 다운로드
1) getbootstrap.com 에서 다운로드

2) D:\java0514\workspace\basicWeb\WebContent\bootstrap 경로에 압축해제
- 존재하는 파일이 많지만 필요한 것만 골라 사용
3) 받아 두었던 'jquery-3.4.1.min.js' 를 bootstrap\js 폴더에 넣어주기

5. 다운로드 받은 bootstrap을 활용
⊙ 메타 데이터의 href와 script의 src를 현재 저장해놓은 것으로 변경
<!DOCTYPE html>
<html lang="ko">
<head>
  <title>03_bootstrap시작.html (오픈소스)</title>
  <meta charset="utf-8">
  <meta name="viewport" content="width=device-width, initial-scale=1">
  <link rel="stylesheet" href="https://maxcdn.bootstrapcdn.com/bootstrap/3.4.0/css/bootstrap.min.css">
  <script src="js/jquery-3.4.1.min.js"></script>
  <script src="js/bootstrap.min.js"></script>
</head>
<body>

<div class="container-fluid">
  <h1>My First Bootstrap Page</h1>
  <p>This is some text.</p>
</div>

</body>
</html>
'프론트엔드 > Bootstrap' 카테고리의 다른 글
| [Bootstrap] 12단 / grid 2단, 3단 / Bootstrap 테마 발췌 (0) | 2019.09.03 |
|---|

